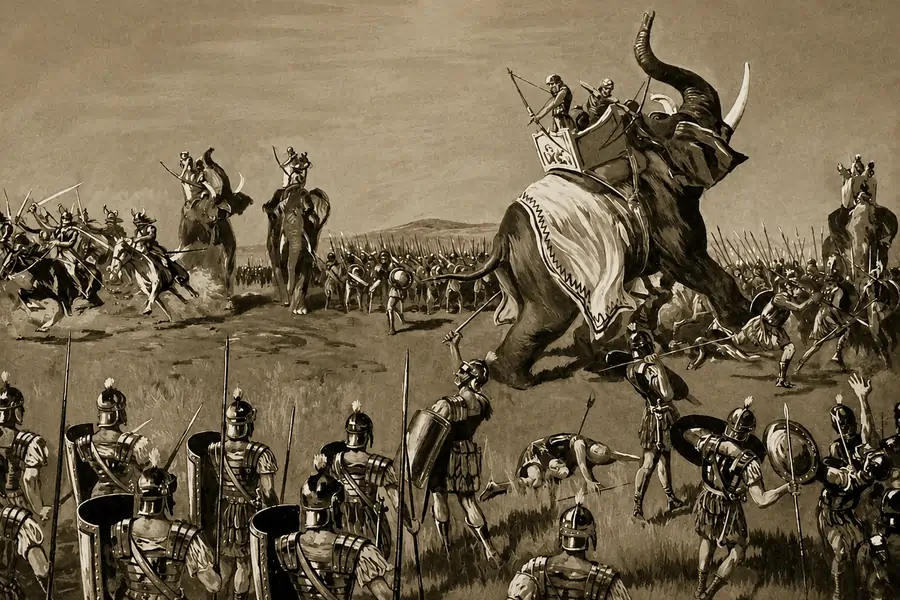
The Battle of Magnesia was fought in 190 BC near Magnesia ad Sipylum in western Asia Minor. This battle was one of the most decisive victories in Roman history because it ended the ambitions of Antiochus III "the Great" of the Seleucid Empire to dominate Greece and the eastern Mediterranean. It also firmly established Rome as the leading power in the Hellenistic world. Antiochus commanded one of the largest and most diverse Hellenistic armies ever assembled, including war elephants, scythed chariots, cataphracts, Galatian infantry, and the famed Macedonian-style phalanx. This did not, however, prevent the disciplined Roman legions under Lucius Cornelius Scipio, aided by the brilliant strategic advice of his brother Scipio Africanus and the cavalry of King Eumenes II of Pergamon, from achieving a stunning victory. This battle proved the weaknesses of the Macedonian phalanx and the superiority of Roman tactical innovation.
Table of Contents
Battle of Magnesia Overview
| Date | 190 BC (possibly December) |
|---|---|
| Location | Near Magnesia ad Sipylum, Lydia (modern western Turkey) |
| Combatants | Roman Republic and Pergamon vs Seleucid Empire |
| Roman Commander | Lucius Cornelius Scipio Asiaticus |
| Principal Advisor | Scipio Africanus |
| Seleucid Commander | Antiochus III the Great |
| Result | Decisive Roman victory |
| Historical Significance | Ended Seleucid ambitions in the west and established Roman dominance in the eastern Mediterranean. |
Prelude to the Battle of Magnesia
To understand why the Battle of Magnesia became one of the defining battles of the ancient world, it is necessary to examine the dramatic changes that followed Rome's victory over Carthage in the Second Punic War. By defeating Hannibal Barca, Rome had transformed from a regional Italian power into a major Mediterranean state. The Republic now found itself increasingly involved in the politics of Greece and Asia Minor.
Meanwhile, the Seleucid Empire under Antiochus III had experienced an extraordinary revival. After ascending the throne in 223 BC, Antiochus spent decades restoring territories lost during earlier dynastic struggles. Through successful campaigns in the east, he re-established Seleucid authority over Persia, Bactria, and parts of Central Asia before turning his attention westward. His victories earned him the title "the Great," making him one of the most capable Hellenistic rulers since Alexander the Great. Like Alexander, Antiochus sought to unite vast territories under his authority, although his empire faced very different political realities.
After defeating Ptolemaic Egypt at the Battle of Panium in 200 BC, Antiochus gained control of Coele-Syria and expanded his influence across the eastern Mediterranean. His growing power soon alarmed both Rome and its Greek allies. According to the Greek historian Polybius (Histories, Book 20), Rome viewed Antiochus' expansion not merely as a regional issue but as a potential threat to the balance of power that had emerged after the defeat of Macedon.
The Road to War
The immediate origins of the Roman-Seleucid War lay in Greece. After defeating Philip V of Macedon during the Second Macedonian War in 197 BC, Rome proclaimed the "Freedom of the Greeks" at the Isthmian Games. While many Greek cities welcomed Roman protection, others viewed Rome as simply replacing Macedonian dominance with its own influence.
One of Antiochus' greatest political opportunities came when the Aetolian League invited him into Greece. The Aetolians believed the Seleucid king could help expel Roman influence and restore Greek independence. Encouraged by these invitations, Antiochus crossed into Greece in 192 BC with a relatively modest army. Although ancient writers often portray this campaign as the beginning of an ambitious invasion, Antiochus probably expected additional Greek states to rally to his cause. That support largely failed to materialize.
The Romans reacted quickly. In 191 BC, the consul Manius Acilius Glabrio defeated Antiochus at the Battle of Thermopylae (the lesser-known Battle of Thermopylae). Forced to abandon Greece, Antiochus withdrew across the Aegean Sea into Asia Minor. Rome did not stop at reclaiming Greece. Instead, the Senate decided to pursue Antiochus into his own territories, signalling an important shift in Roman foreign policy. Rather than simply defending allies, Rome now intended to destroy the military power of any rival capable of challenging its influence.
The Roman advance became possible because of their overwhelming success at sea. Combined Roman, Rhodian, and Pergamene fleets defeated Seleucid naval forces in several engagements, denying Antiochus control of the Aegean. Without naval superiority, reinforcing his armies became increasingly difficult. The Roman army eventually crossed the Hellespont into Asia Minor with the support of Eumenes II, King of Pergamon, one of Rome's most loyal allies. This alliance proved decisive throughout the campaign.
The campaign also highlighted Rome's growing logistical sophistication. The Republic had developed remarkable experience in maintaining large expeditionary armies during decades of conflict against Carthage. This can be attributed to the sophisticated use of Roman military camps and their adaptations in logistics. As both armies maneuvered across western Asia Minor during late 190 BC, Antiochus chose to make his stand near Magnesia ad Sipylum, hoping that his larger army could finally crush the Roman advance.
Commanders and Opposing Armies
The Roman Army
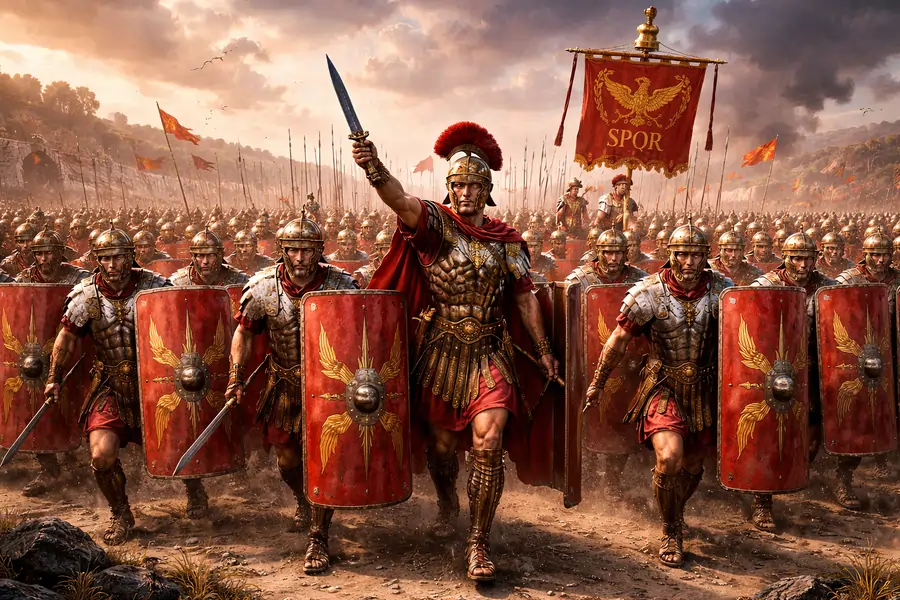
The Roman force was commanded by Consul Lucius Cornelius Scipio, later given the honorific Asiaticus after the victory. Although Lucius held formal command, much of the strategic prestige rested with his older brother, the famous Scipio Africanus, whose defeat of Hannibal at Zama had made him Rome's greatest living general.
Africanus accompanied the expedition despite illness and acted as an influential advisor during much of the campaign. His experience against diverse enemy armies likely shaped Roman planning before Magnesia. The Roman army probably numbered around 30,000 men, though ancient figures vary considerably. It included:
- Roman legionaries
- Italian allied infantry
- Pergamene infantry
- Roman and allied cavalry
- Cretan archers
- Slingers and light infantry
The backbone of the army remained the Roman legion. Unlike the dense Macedonian phalanx, the legion's manipular organization allowed units to maneuver independently, exploit terrain, and respond quickly to changing battlefield conditions. This flexibility would prove crucial once again, much as it had during Rome's earlier encounters with Hellenistic armies.
The Seleucid Army
Antiochus III assembled one of the largest armies of the Hellenistic age. Ancient estimates exceed 70,000 men, although modern historians generally suggest somewhat lower figures. Even conservative estimates indicate that the Seleucid army substantially outnumbered the Romans. Given the enormous geographic extent of the Seleucid Empire, Antiochus was able to draw on the warriors from all corners of his empire. The army included:
- Macedonian-style phalangites
- Elite Silver Shield infantry
- Cataphract heavy cavalry
- Companion-style cavalry
- Galatian warriors
- Cretan archers
- Persian and Median troops
- Camel-mounted archers
- Scythed chariots
- Indian war elephants
The center of Antiochus' battle line consisted of the famous Macedonian phalanx armed with the sarissa, the exceptionally long pike first perfected by Philip II and later used so effectively during the campaigns of Alexander the Great. At its best, the phalanx presented an almost impenetrable hedge of spear points from the front. However, it required level ground, close formation, and strong protection on both flanks.
The Battlefield at Magnesia
The battle took place on the broad plains near Magnesia ad Sipylum in Lydia, an area well suited to large-scale maneuver. The open terrain encouraged Antiochus to deploy his numerous cavalry, elephants, and chariots, while also allowing the phalanx to operate in ideal conditions. The battlefield seemed to favour the Seleucid army.
Antiochus arranged his army in the traditional Hellenistic fashion. The massive phalanx occupied the center, divided into several blocks separated by war elephants intended to discourage breakthroughs. Heavy cavalry protected both wings, while scythed chariots and light troops were positioned forward to disrupt the Roman advance before the main infantry engagement.
The Romans adopted a more flexible deployment. Their legions formed the center, allied contingents extended the line, and Eumenes II commanded much of the cavalry on the Roman right. Rather than relying on a single massive formation, Roman commanders expected individual units to exploit opportunities wherever they appeared. Both commanders understood the stakes. For Antiochus, defeat could mean the collapse of decades of imperial expansion. For Rome, victory would eliminate the last great Hellenistic monarch capable of challenging Republican power in the eastern Mediterranean.
The Battle of Magnesia Step by Step
Although the exact sequence of events differs slightly between the accounts of Polybius, Livy, and Appian, historians broadly agree on how the battle unfolded. Antiochus hoped that his superior numbers and powerful cavalry would overwhelm the Roman army before the legions could exploit their tactical flexibility. Instead, a series of mistakes, combined with disciplined Roman leadership, caused the Seleucid battle line to collapse.
The Seleucid Scythed Chariots Fail
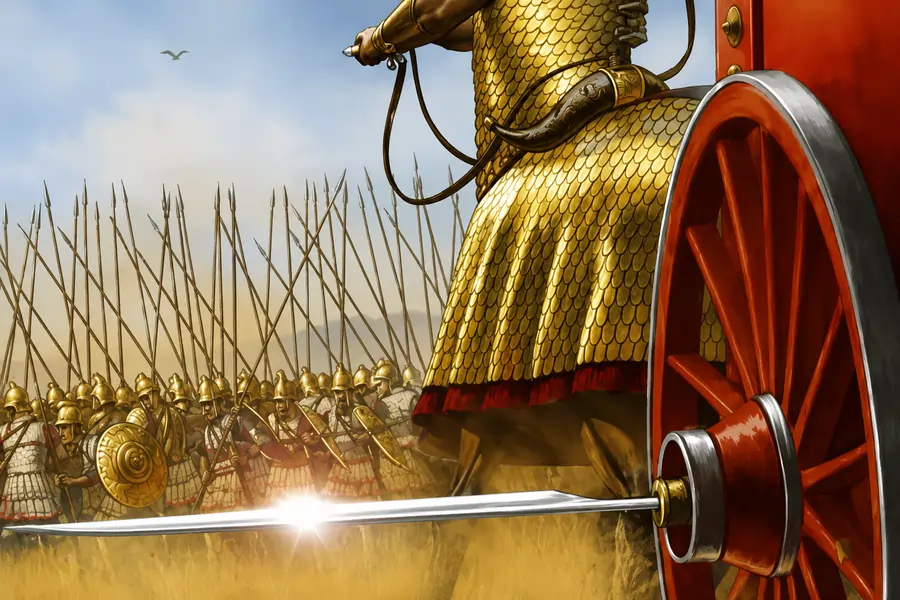
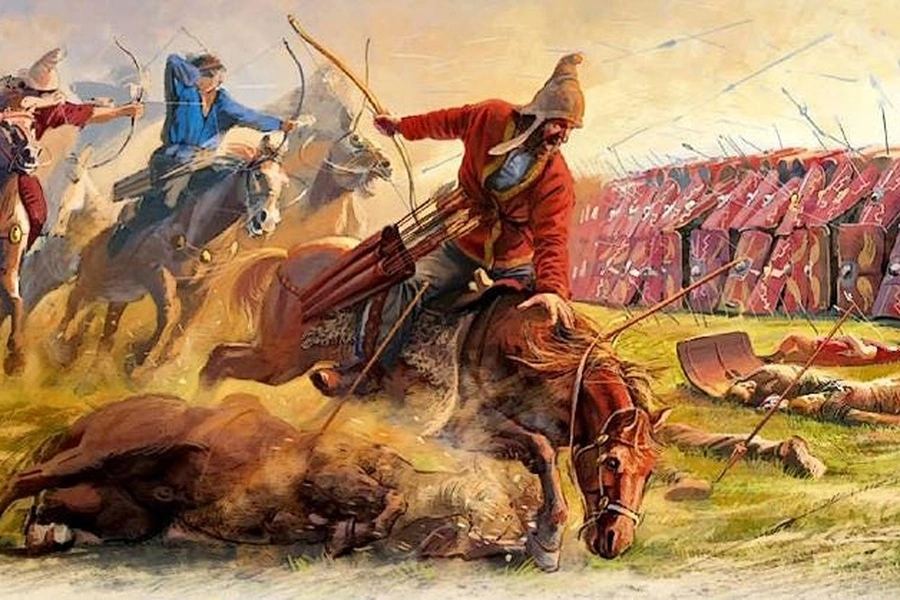
The battle opened with Antiochus attempting to disrupt the Roman line using his scythed chariots. These fearsome vehicles carried long blades attached to their wheels and were designed to cut through tightly packed infantry formations. However, King Eumenes II of Pergamon anticipated the attack. Rather than waiting for the chariots to reach the Roman infantry, he ordered archers, slingers, and javelin throwers to shower them with missiles.
The tactic proved devastating. Horses struck by arrows and javelins panicked, while others turned back into the Seleucid ranks. Instead of breaking the Roman formation, the chariots created confusion among Antiochus' own troops. The failure of the chariots had an immediate effect on the Seleucid left wing. With formations disrupted before the main engagement had even begun, Roman cavalry seized the initiative and drove the opposing horsemen from the field.
Antiochus Wins on the Right Wing
While the Seleucid left collapsed, Antiochus personally led a determined cavalry charge on his own right wing. Commanding elite cataphracts and heavy cavalry, he attacked the Roman left with considerable success. The Roman cavalry on this flank was pushed back, and some units fled toward their fortified camp. Antiochus' assault briefly turned the battle in his favor, exposing the Roman legions in the center.
Instead of wheeling inward to strike the Roman infantry from the rear, however, Antiochus continued pursuing the retreating cavalry toward the Roman camp. This decision removed thousands of his finest cavalrymen from the decisive fighting taking place in the center. Roman camp guards and reserve troops resisted stubbornly, delaying Antiochus long enough for events elsewhere on the battlefield to determine the outcome.
The Roman Right Overwhelms the Seleucid Left
With the Seleucid left already disorganized by the failed chariot attack, Eumenes pressed his advantage. Roman and Pergamene cavalry scattered the remaining Seleucid horsemen before turning against exposed missile troops and supporting infantry. Light infantry followed closely behind, ensuring that Antiochus' left wing could no longer protect the flank of the central phalanx.
This coordinated use of cavalry and light troops demonstrated the combined-arms tactics that increasingly characterized Roman warfare during the middle Republic.
The Clash of the Infantry
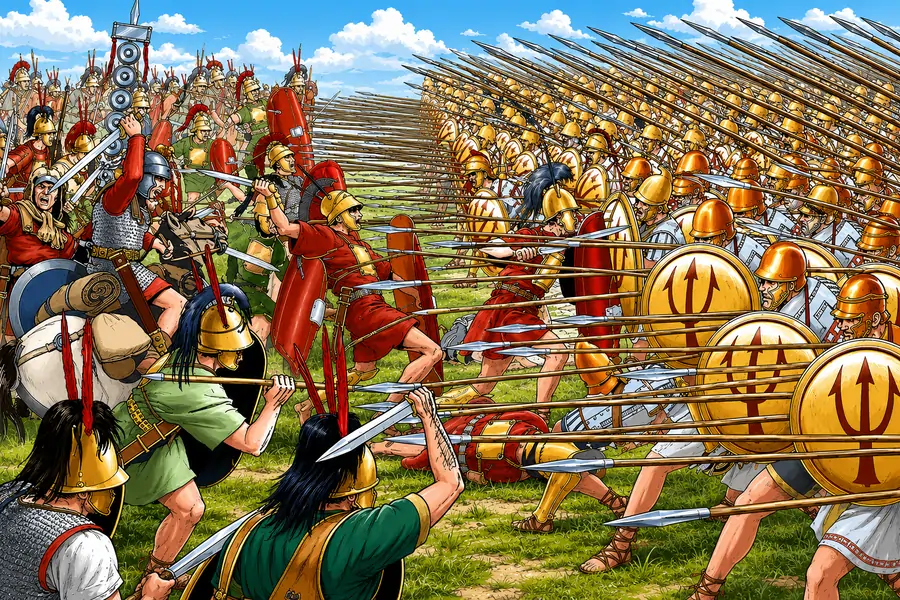
In the center, the Roman legions finally engaged the massive Seleucid phalanx. At first, the phalanx performed exactly as intended. Thousands of soldiers advanced shoulder to shoulder with their long sarissas, presenting a formidable wall of spear points that was extremely difficult to attack from the front.
The Roman maniples initially struggled to fight against this dense formation. However, the Roman commanders avoided launching reckless frontal assaults. Instead, they patiently exploited weaknesses that began appearing along the phalanx's exposed flanks.
The spaces between individual phalanx blocks, necessary because Antiochus had positioned war elephants between them, gradually became vulnerabilities once the surrounding troops were driven away. As explained in our analysis of why the Roman legion defeated the Macedonian phalanx, the flexibility of the manipular legion allowed Roman units to maneuver around rigid formations rather than confronting them directly.
The Elephants Cause Disorder
Antiochus had deployed war elephants between sections of the phalanx to discourage enemy breakthroughs. Instead, the animals became a liability. As Roman missile troops concentrated their attacks on the elephants, several animals panicked and crashed back into the Seleucid infantry. The enormous beasts disrupted the tightly packed ranks that the phalanx depended upon for its effectiveness.
Once gaps appeared in the enemy phalanx, Roman maniples moved into the openings, attacking individual sections instead of confronting the entire phalanx head-on. The rigid formation that had once dominated Hellenistic battlefields rapidly lost cohesion.
The Collapse of the Seleucid Army
With its left wing destroyed, its elephants in confusion, and its center under pressure, the Seleucid army began to unravel. The Roman cavalry attacked from the flanks while legionaries pressed forward in the center. Unable to maneuver effectively once its formation broke apart, the phalanx ceased to function as a unified fighting force.
Only then did Antiochus return from pursuing the Roman cavalry near the camp. By the time he reached the main battlefield, the decisive moment had already passed. His army was retreating in disorder, and there was little he could do to restore the situation.
The retreat soon became a rout. Ancient sources report enormous Seleucid casualties, perhaps as many as 50,000 killed or captured, although modern historians generally consider these figures exaggerated. Roman losses appear to have been comparatively light, further emphasizing the scale of the victory (Livy, Ab Urbe Condita, Book 37).
Why Did the Romans Win the Battle of Magnesia?
Rome's victory resulted from a combination of superior battlefield leadership, tactical flexibility, and effective cooperation between allied forces rather than simple numerical strength.
1. Superior Tactical Flexibility
The manipular legion could adapt far more easily than the rigid Seleucid phalanx. Roman units operated independently, exploited gaps, and responded quickly to changing conditions instead of remaining locked into a single formation.
2. Eumenes II Neutralized Antiochus' Best Weapons
The Pergamene king deserves enormous credit for defeating the scythed chariots before they reached the Roman infantry. By eliminating one of Antiochus' key tactical advantages early in the battle, he disrupted the entire Seleucid left wing.
3. Antiochus Left the Main Battlefield
Although Antiochus achieved success on the right wing, his decision to pursue retreating cavalry toward the Roman camp proved costly. His absence meant that the Seleucid center fought without effective overall direction precisely when the battle reached its most critical stage.
4. Better Combined-Arms Coordination
The Romans successfully integrated infantry, cavalry, missile troops, and allied contingents throughout the battle. Rather than relying on a single decisive formation, each branch supported the others, allowing commanders to exploit opportunities as they emerged.
5. The Phalanx's Structural Weaknesses
Magnesia became another important demonstration that the Macedonian phalanx, although formidable on favorable terrain, struggled once its formation was disrupted or attacked from multiple directions. This pattern had already appeared in earlier Roman victories and would continue in future conflicts, reinforcing Rome's military superiority throughout the Mediterranean.
Legacy and Historical Impact
The Battle of Magnesia transformed the balance of power in the eastern Mediterranean. Following the defeat, Antiochus III was forced to accept the harsh Treaty of Apamea in 188 BC. Under its terms, the Seleucid Empire surrendered all territory west of the Taurus Mountains, paid an enormous indemnity to Rome, reduced its military capabilities, and handed over hostages, including Antiochus' future successor.
Although Rome did not immediately annex these territories, it redistributed much of them among loyal allies such as Pergamon and Rhodes. In doing so, the Republic established itself as the ultimate arbiter of eastern Mediterranean politics. The victory also accelerated the decline of the Hellenistic kingdoms founded after Alexander the Great's death. Within a few generations, Macedon, the Seleucid Empire, and eventually Ptolemaic Egypt would all fall under Roman domination.
From a military perspective, Magnesia reinforced an important lesson repeatedly demonstrated during the second century BC: disciplined, adaptable formations consistently outperformed larger but more rigid armies. For students of military history, Magnesia also represents the final chapter in the long evolution of warfare that began under Philip II and Alexander. Magnesia effectively ended the possibility of a unified Hellenistic empire challenging Rome.
References
Ancient Sources
- Polybius - Histories, Books 20-21.
- Livy. Ab Urbe Condita, Book 37.
- Appian. Syrian Wars.
Modern Scholarship
- Goldsworthy, Adrian. The Fall of Carthage. Yale University Press.
- Hoyos, Dexter. Mastering the West: Rome and Carthage at War.
- Grainger, John D. The Roman War of Antiochos the Great.
- Errington, R. M. A History of the Hellenistic World.
- Boatwright, Gargola, Lenski & Talbert. The Romans: From Village to Empire.
Recommended Books
This article may contain affiliate links. If you purchase through these links, I may earn a small commission at no extra cost to you.


Related Articles
Frequently Asked Questions
Why did Antiochus III choose to fight at the Battle of Magnesia?
Antiochus III chose the plains near Magnesia because the open terrain favored his large army, heavy cavalry, scythed chariots, and Macedonian-style phalanx. He believed these forces would perform better there than on rough or confined ground.
How many soldiers fought at the Battle of Magnesia?
Ancient historians claimed Antiochus III commanded more than 70,000 troops against a Roman army of around 30,000. Modern historians generally believe the ancient figures were exaggerated, but most agree the Seleucid army significantly outnumbered the Roman and Pergamene forces.
Why did the Seleucid war elephants fail at the Battle of Magnesia?
The war elephants were placed between sections of the Seleucid phalanx to strengthen the battle line. During the fighting, Roman missile troops caused several elephants to panic, disrupting the tightly packed infantry and creating gaps that the Roman legions exploited.
How did the Roman legion defeat the Seleucid phalanx at Magnesia?
The Roman legion relied on smaller, flexible maniples rather than one continuous formation. After the Seleucid line became disorganized, Roman units attacked exposed flanks and gaps in the phalanx, where the long sarissas were less effective.
What happened after the Battle of Magnesia in 190 BC?
Following the defeat, Antiochus III signed the Treaty of Apamea in 188 BC. He surrendered all Seleucid territory west of the Taurus Mountains, paid a large war indemnity, reduced his military strength, and accepted Rome's growing influence over the eastern Mediterranean.
Why is the Battle of Magnesia considered a turning point in Roman history?
The Battle of Magnesia eliminated the Seleucid Empire as a major rival in the west and established Rome as the dominant military power in the eastern Mediterranean. It also marked another decisive victory of the adaptable Roman legion over the traditional Hellenistic phalanx.
Add Comment